Revisiting a classic.
It’s been three years since I presented an article about the DIY portable DC power pack. It’s still one of the most popular articles here on Off Grid Ham. Almost every radio amateur has some version of this gizmo. Over the winter I had the itch to upgrade my portable DC power pack. I finally got around to it, and the results are worth revisiting.
Avoiding the trap of just “barely enough”.

The old DC power pack with SLA battery, Rig Runner, and assorted cords. OFF GRID HAM ORIGINAL PHOTO ©2019
With a 5 amp hour sealed lead acid battery and a 27 watt solar panel, in strong sun my old box had enough guts to power my FT-817 radio all day and still have a full battery at sundown. There were a lot of what-ifs: What if it was cloudy that day, or the next? What if I needed a more aggressive duty cycle? What if I needed extra power to support handheld radios, cellphones, or maybe a light?
A five amp hour SLA battery only goes so far. It’s barely enough to pull an FT-817 through the night (forget about extras), and you’d better hope it’s not overcast in the morning or you’ll be off the air until you can get at least a couple hours of solid sun. Whether you’re a casual hobbyist, a devoted contester, or a survivalist preparing for SHTF, having “barely enough” leaves zero wiggle room for contingencies that are very likely to happen.
I wanted more battery capacity without adding a lot of bulk or complexity to the device. Ideally, the upgrade would reuse the original plastic ammo box and 27 watt solar panel. The clear solution: A lithium battery.
Build or buy?
The 12 amp hour Bioenno battery I picked out plus the required solar charger would cost about $190.00 delivered. Bioenno also offers a ready made power pack for about $220.00 delivered. It features a 10 amp hour lithium battery, a solar controller, and an AC inverter, all wrapped up in a very good looking enclosure.
So instead of cobbling a DC power pack together from assorted parts, why not just spend an extra thirty bucks and buy one already good to go, with an AC inverter to boot? I thought about it and ultimately decided to build my own.
First, my DIY version can be disassembled and the components relegated to other projects if my future needs change. Second, I don’t need the inverter, so that wasn’t much of a selling point. Besides, it’s a less desirable modified square wave inverter. Lastly, my project DC power pack has a 12 amp hour battery, and the Bioenno-made power pack is only 10 amp hours. That extra two amp hours may not sound like a lot, but it is more than the equivalent of the FT-817’s internal battery. That translates into one or two hours of extra operating time you would not have with the 10 amp hour box.
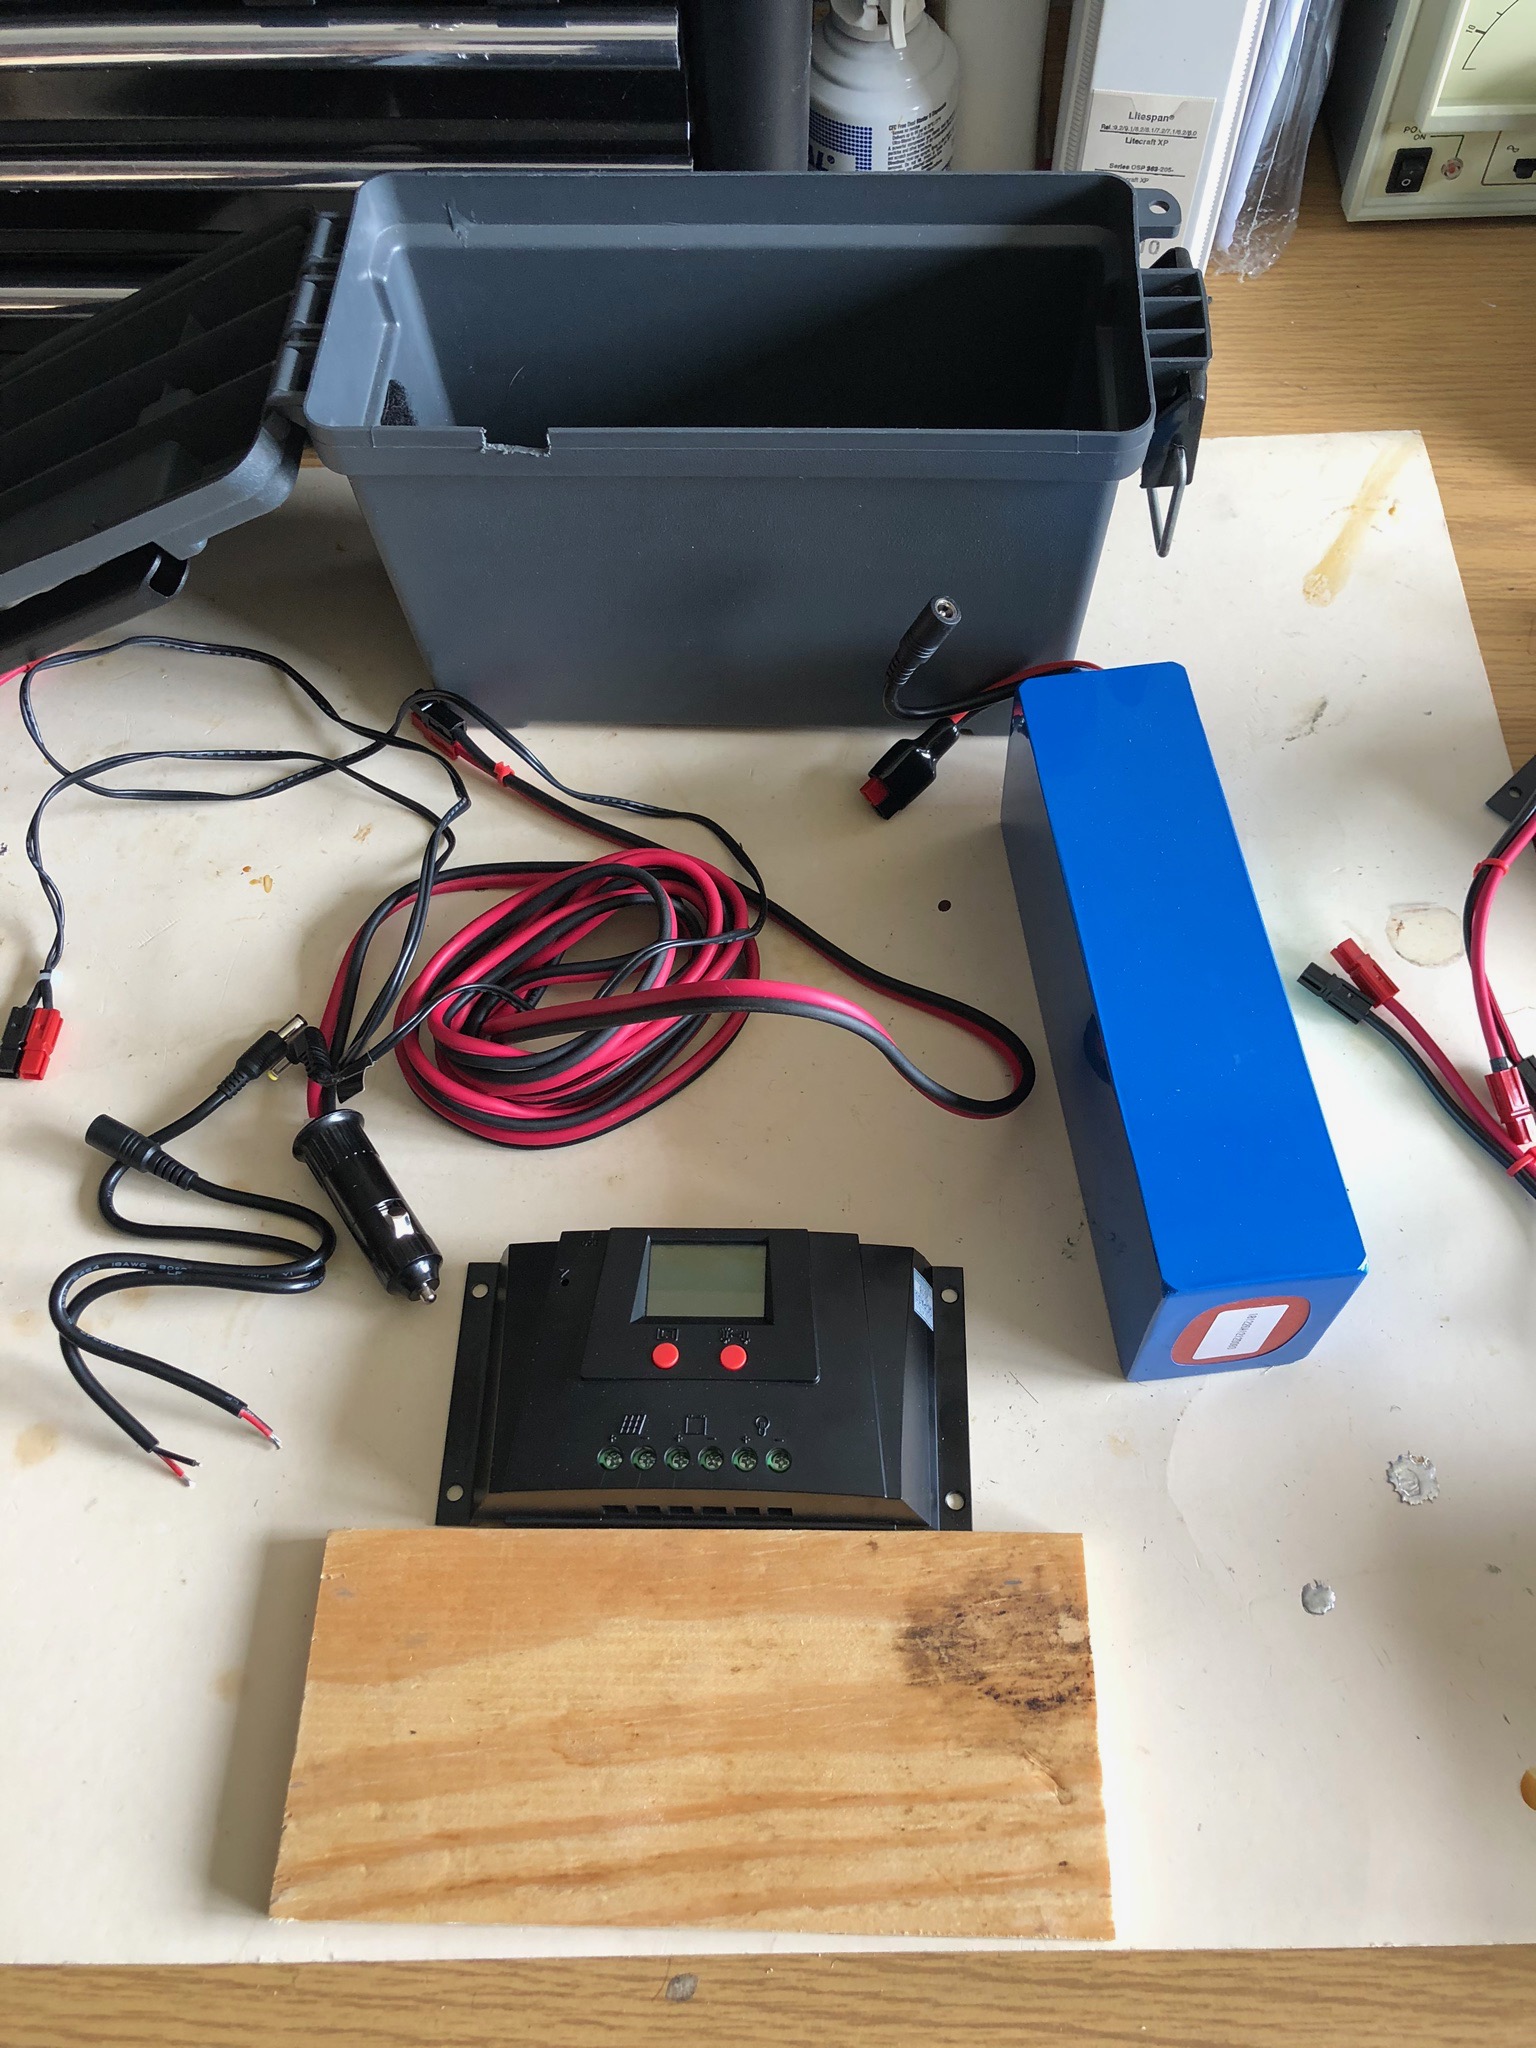
The components of the upgraded power pack. The Rig Runner was kicked out to make room for the larger battery. OFF GRID HAM ORIGINAL PHOTO ©2019
A few small givebacks…
Due to the addition of the solar controller (which was not needed before), and the fact that the new lithium battery was physically larger than the old SLA battery, reusing the same plastic ammo box required some compromises. The Rig Runner distribution block had to go to make room for the new battery. It was no longer needed anyway. Between the battery itself and the solar controller I had enough places to plug stuff in. I can always carry the Rig Runner separately for extra power taps.
…and one huge bonus.
Even though the new lithium battery is physically larger than the old SLA battery, I would swear they both weighed the same. A quick check with a scale confirmed it. The 5 amp hour SLA battery weighs 3 pounds, 7 ounces (1.560 kg) and the 12 amp hour lithium battery weighs 3 pounds, 8 ounces (1.588 kg). For a weight increase of only one ounce (0.0284 kg), I have a portable DC power pack with more than double the capacity of the original! I gave up nothing meaningful in terms of space (of the overall unit) and weight.
A solar controller is not optional.
If you are a regular on this blog, you know that small solar panels under 25 watts or so can be connected directly to conventional batteries without a controller. You can’t do that with lithium batteries!
Lithium batteries have on-board electronics that keep the cells balanced. For this and other reasons, they cannot be fed raw power straight off a solar panel. A controller is needed to keep the voltage and current constant. On top of this, you can’t use just any controller. You must use a controller designed specifically for lithium batteries.
The Bioenno SC-122420JUD controller I chose for my upgrade is prefect for the job. With a 20 amp capacity there is plenty of room for future expansion.
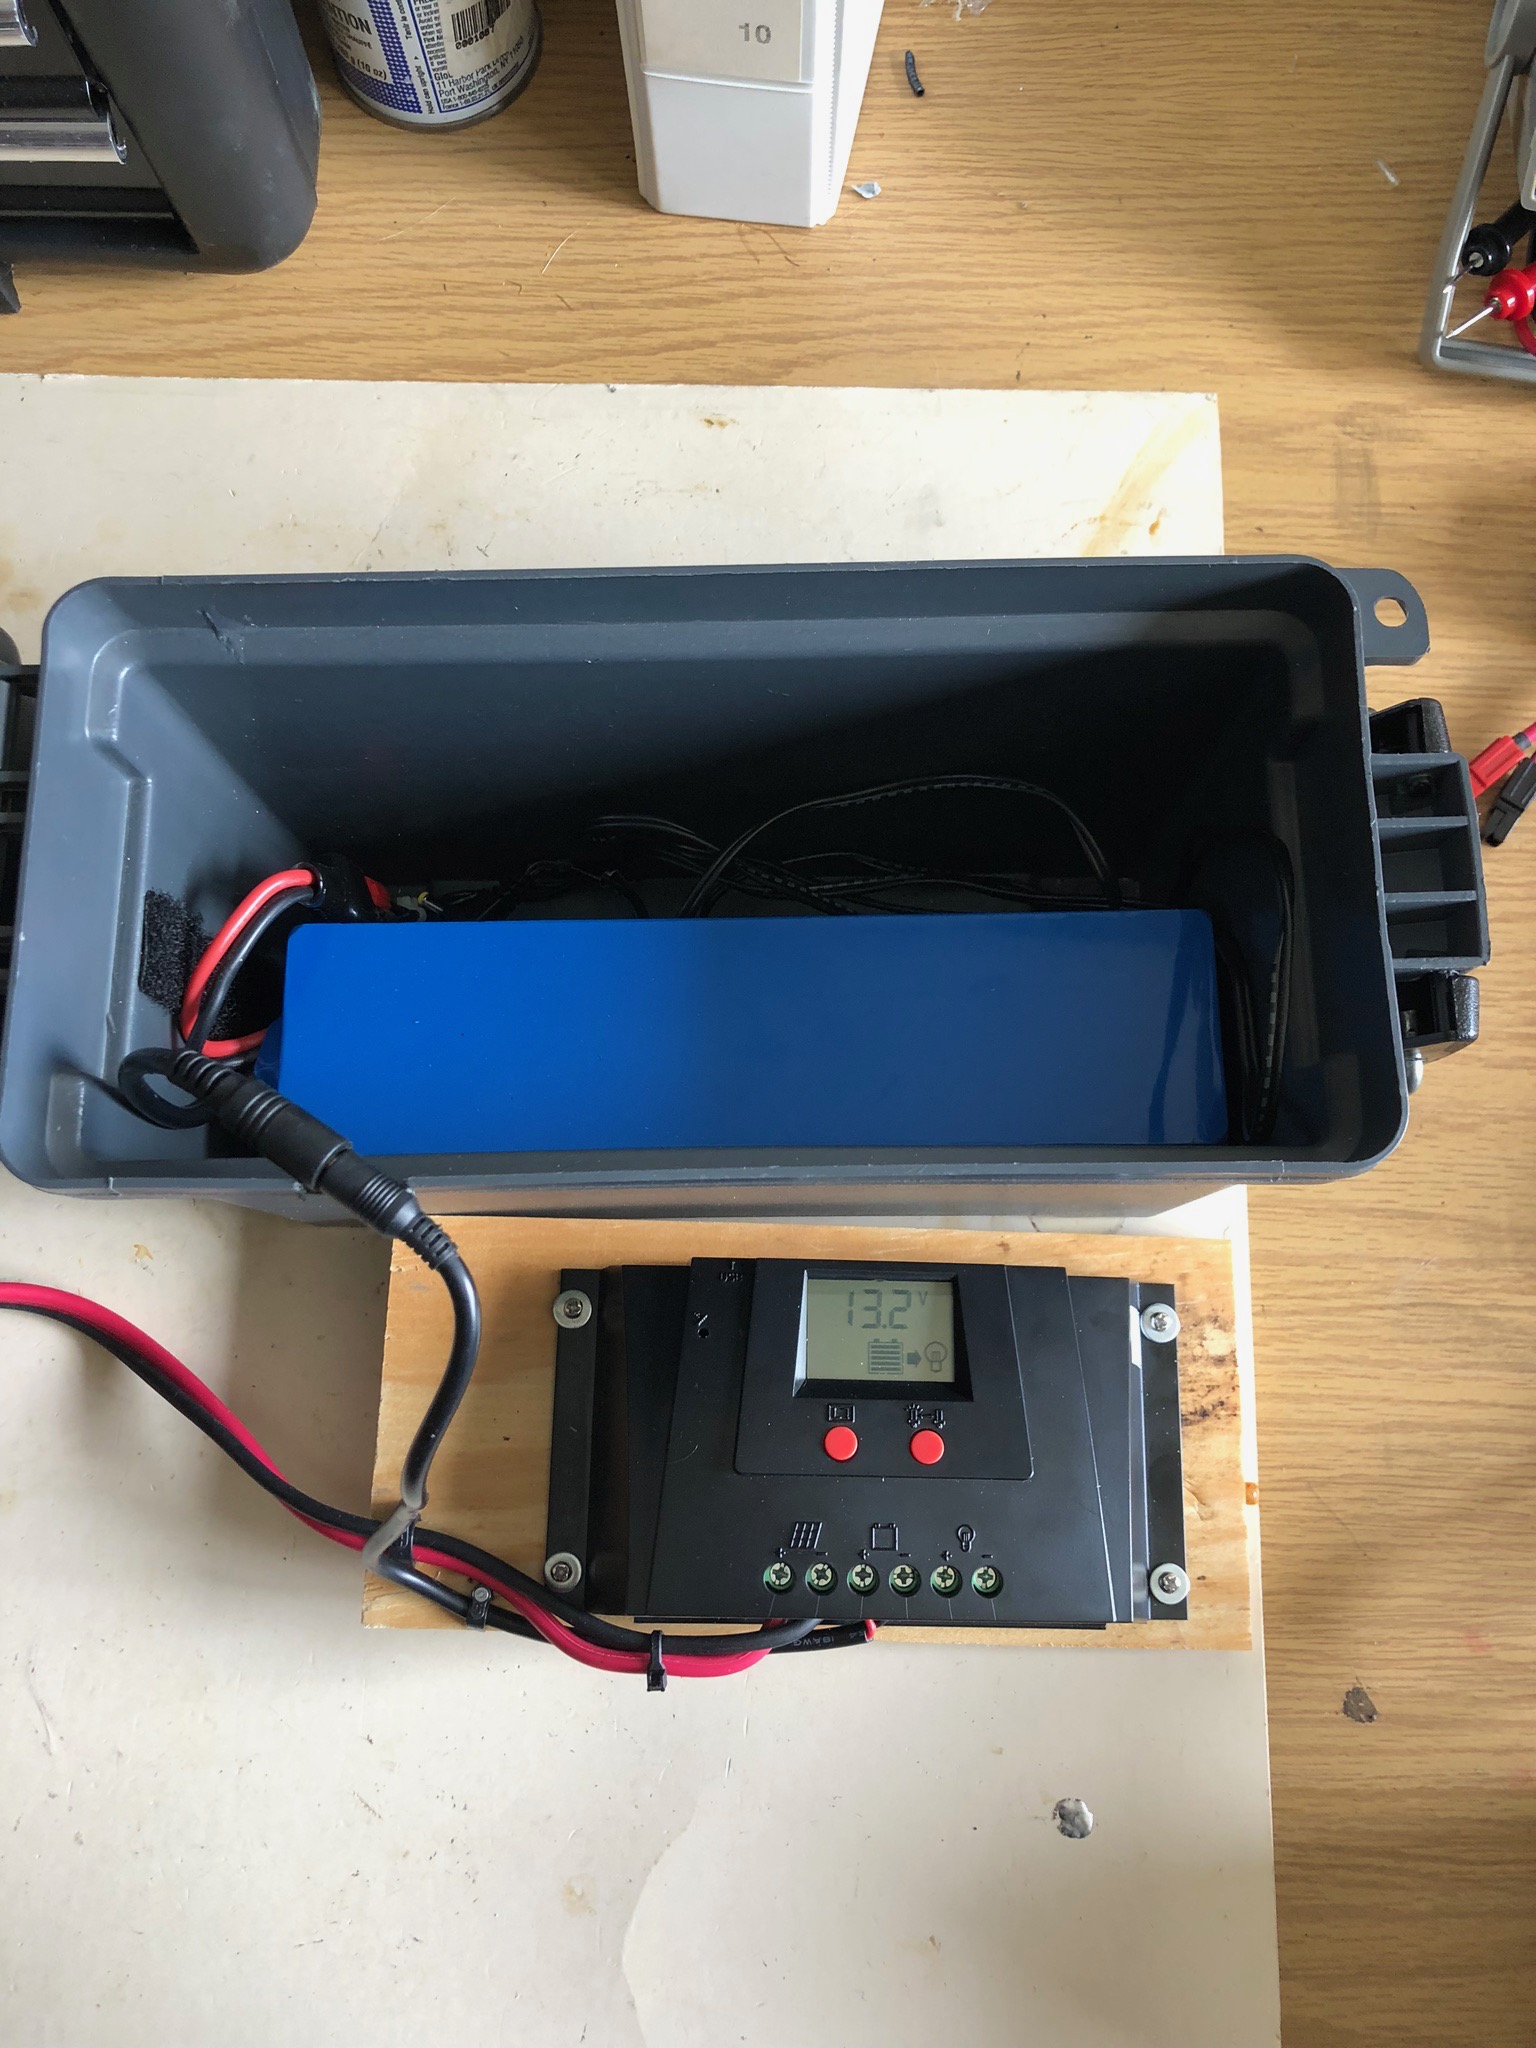
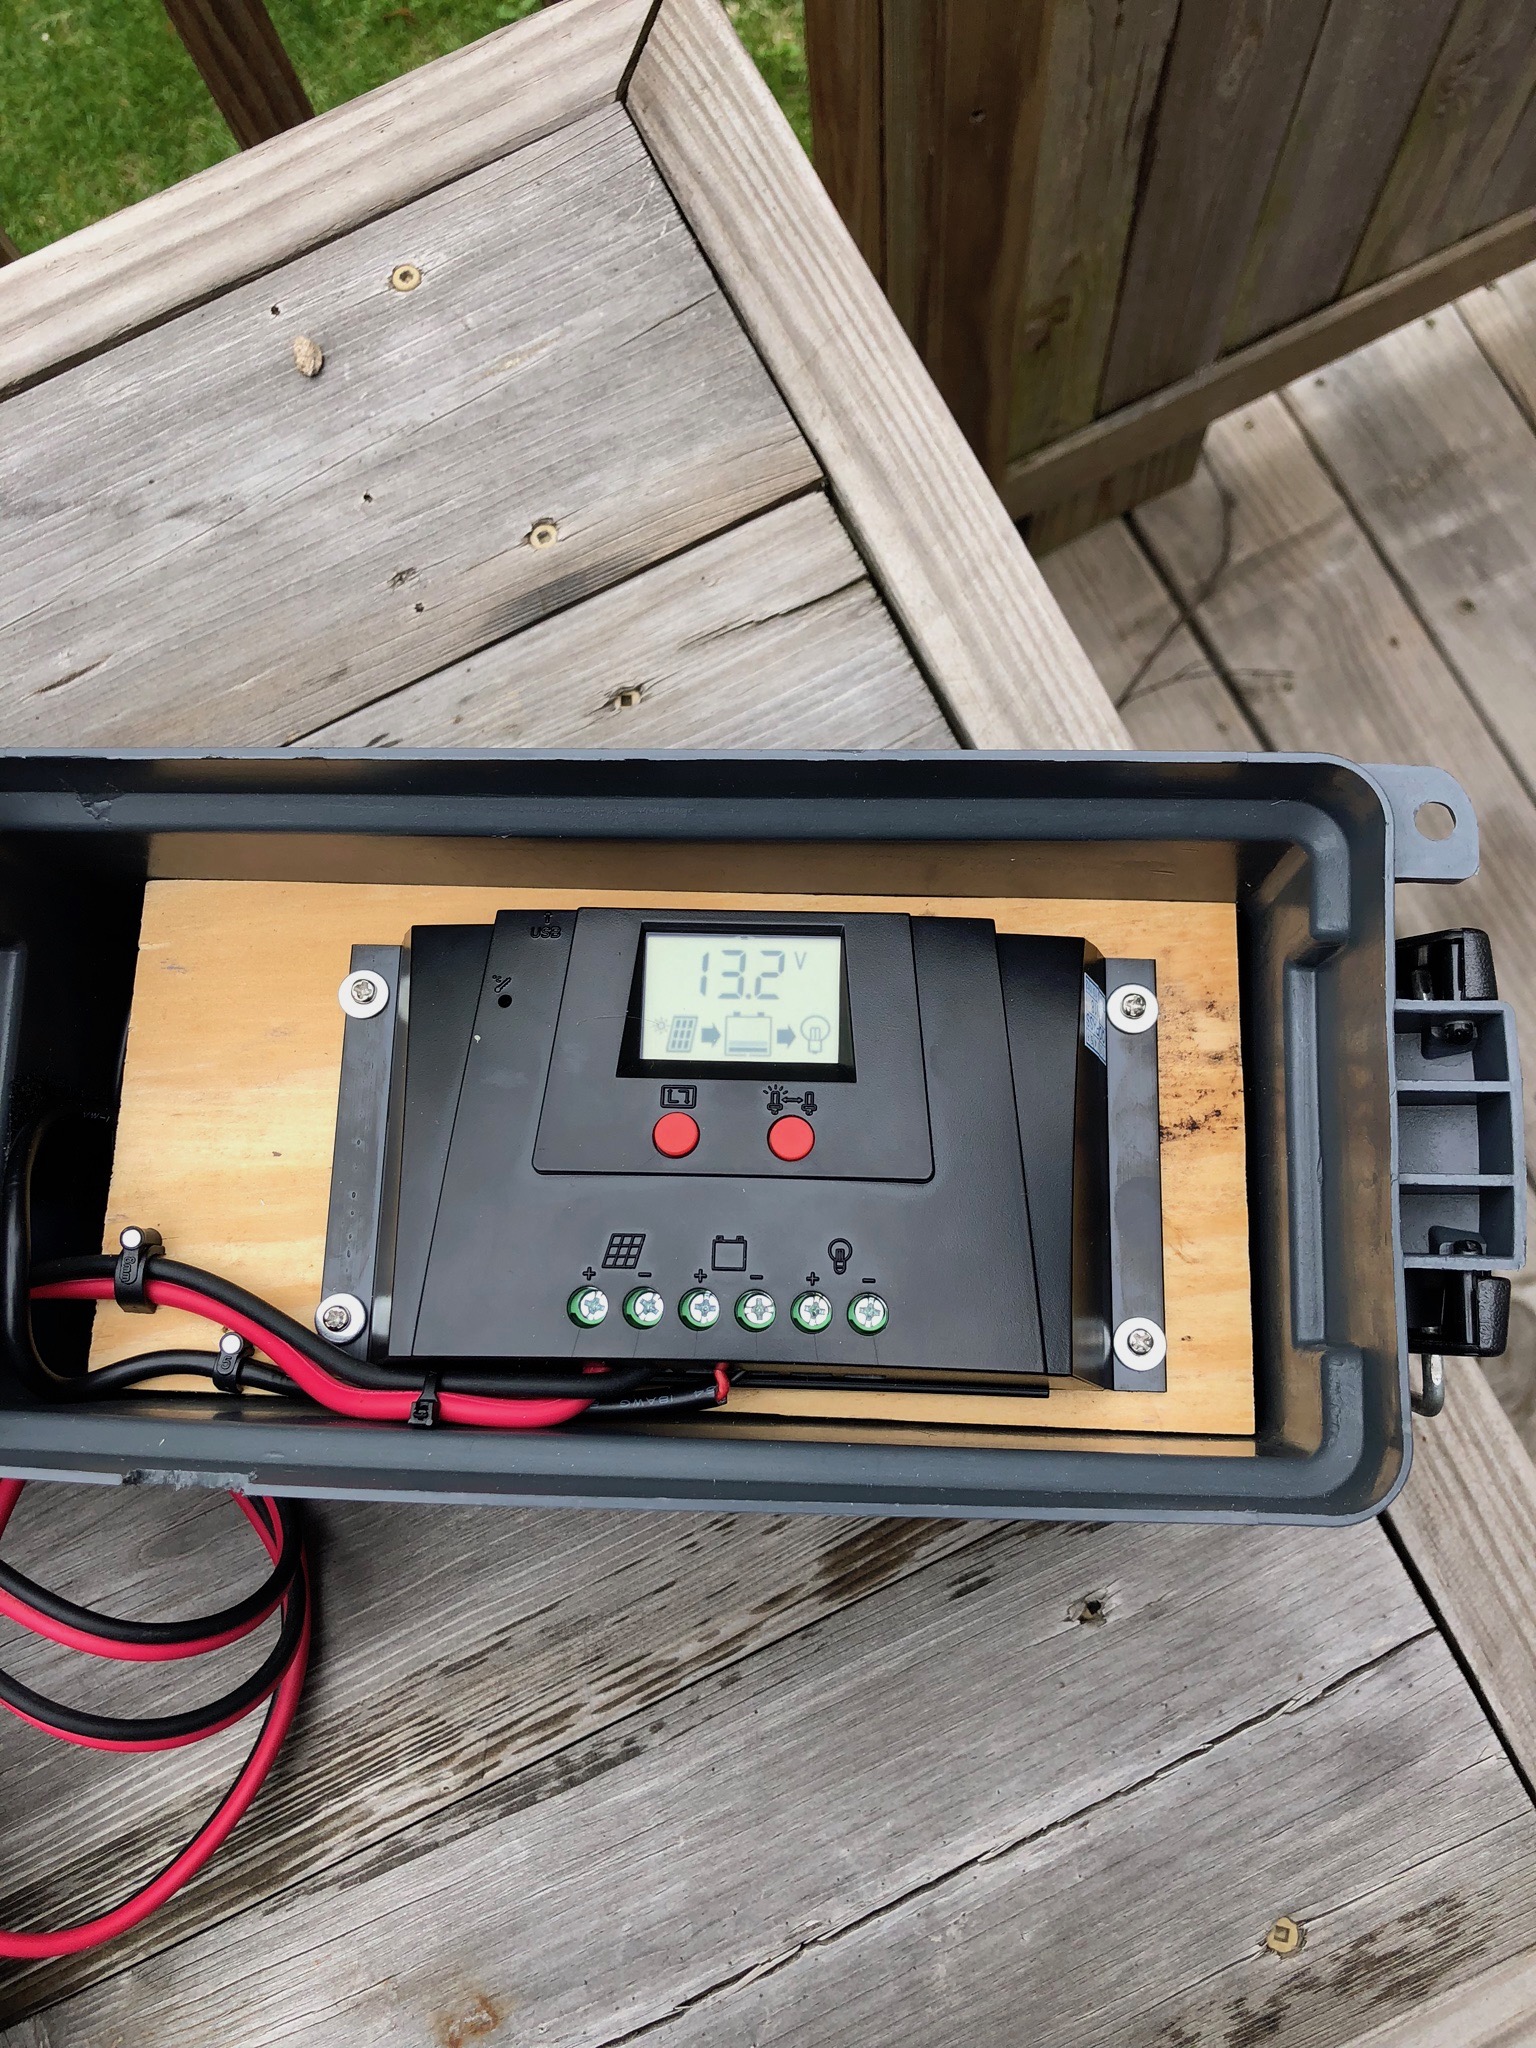
The mounted solar controller will fit neatly atop the battery. There is room in the box for coiled up cords. OFF GRID HAM ORIGINAL PHOTO ©2019
Putting it together.
Converting my portable DC power pack to lithium was easy and fast. The only real challenge was where to install the solar controller. One option was to mount it on the side of the box. I ruled out that idea because it would expose the controller to damage during transport and handling, and it was important to me to keep the overall package format the same as original.
The solution I came up with was to mount the controller on a thin piece of plywood cut to fit squarely inside the box, leaving a small space on the side to run wires. The plywood rests on top the battery. After the physical layout is decided, all that’s left is to wire it up. There isn’t much to it. Just connect the solar panel and the battery to the appropriate terminals and you’re good to go. Bioenno strongly suggests connecting your radio directly to the battery and not the load terminals on the controller. I’m not sure why, but they mention it in more than one place in the manual and make accommodations for it on the battery, so I guess they really mean it.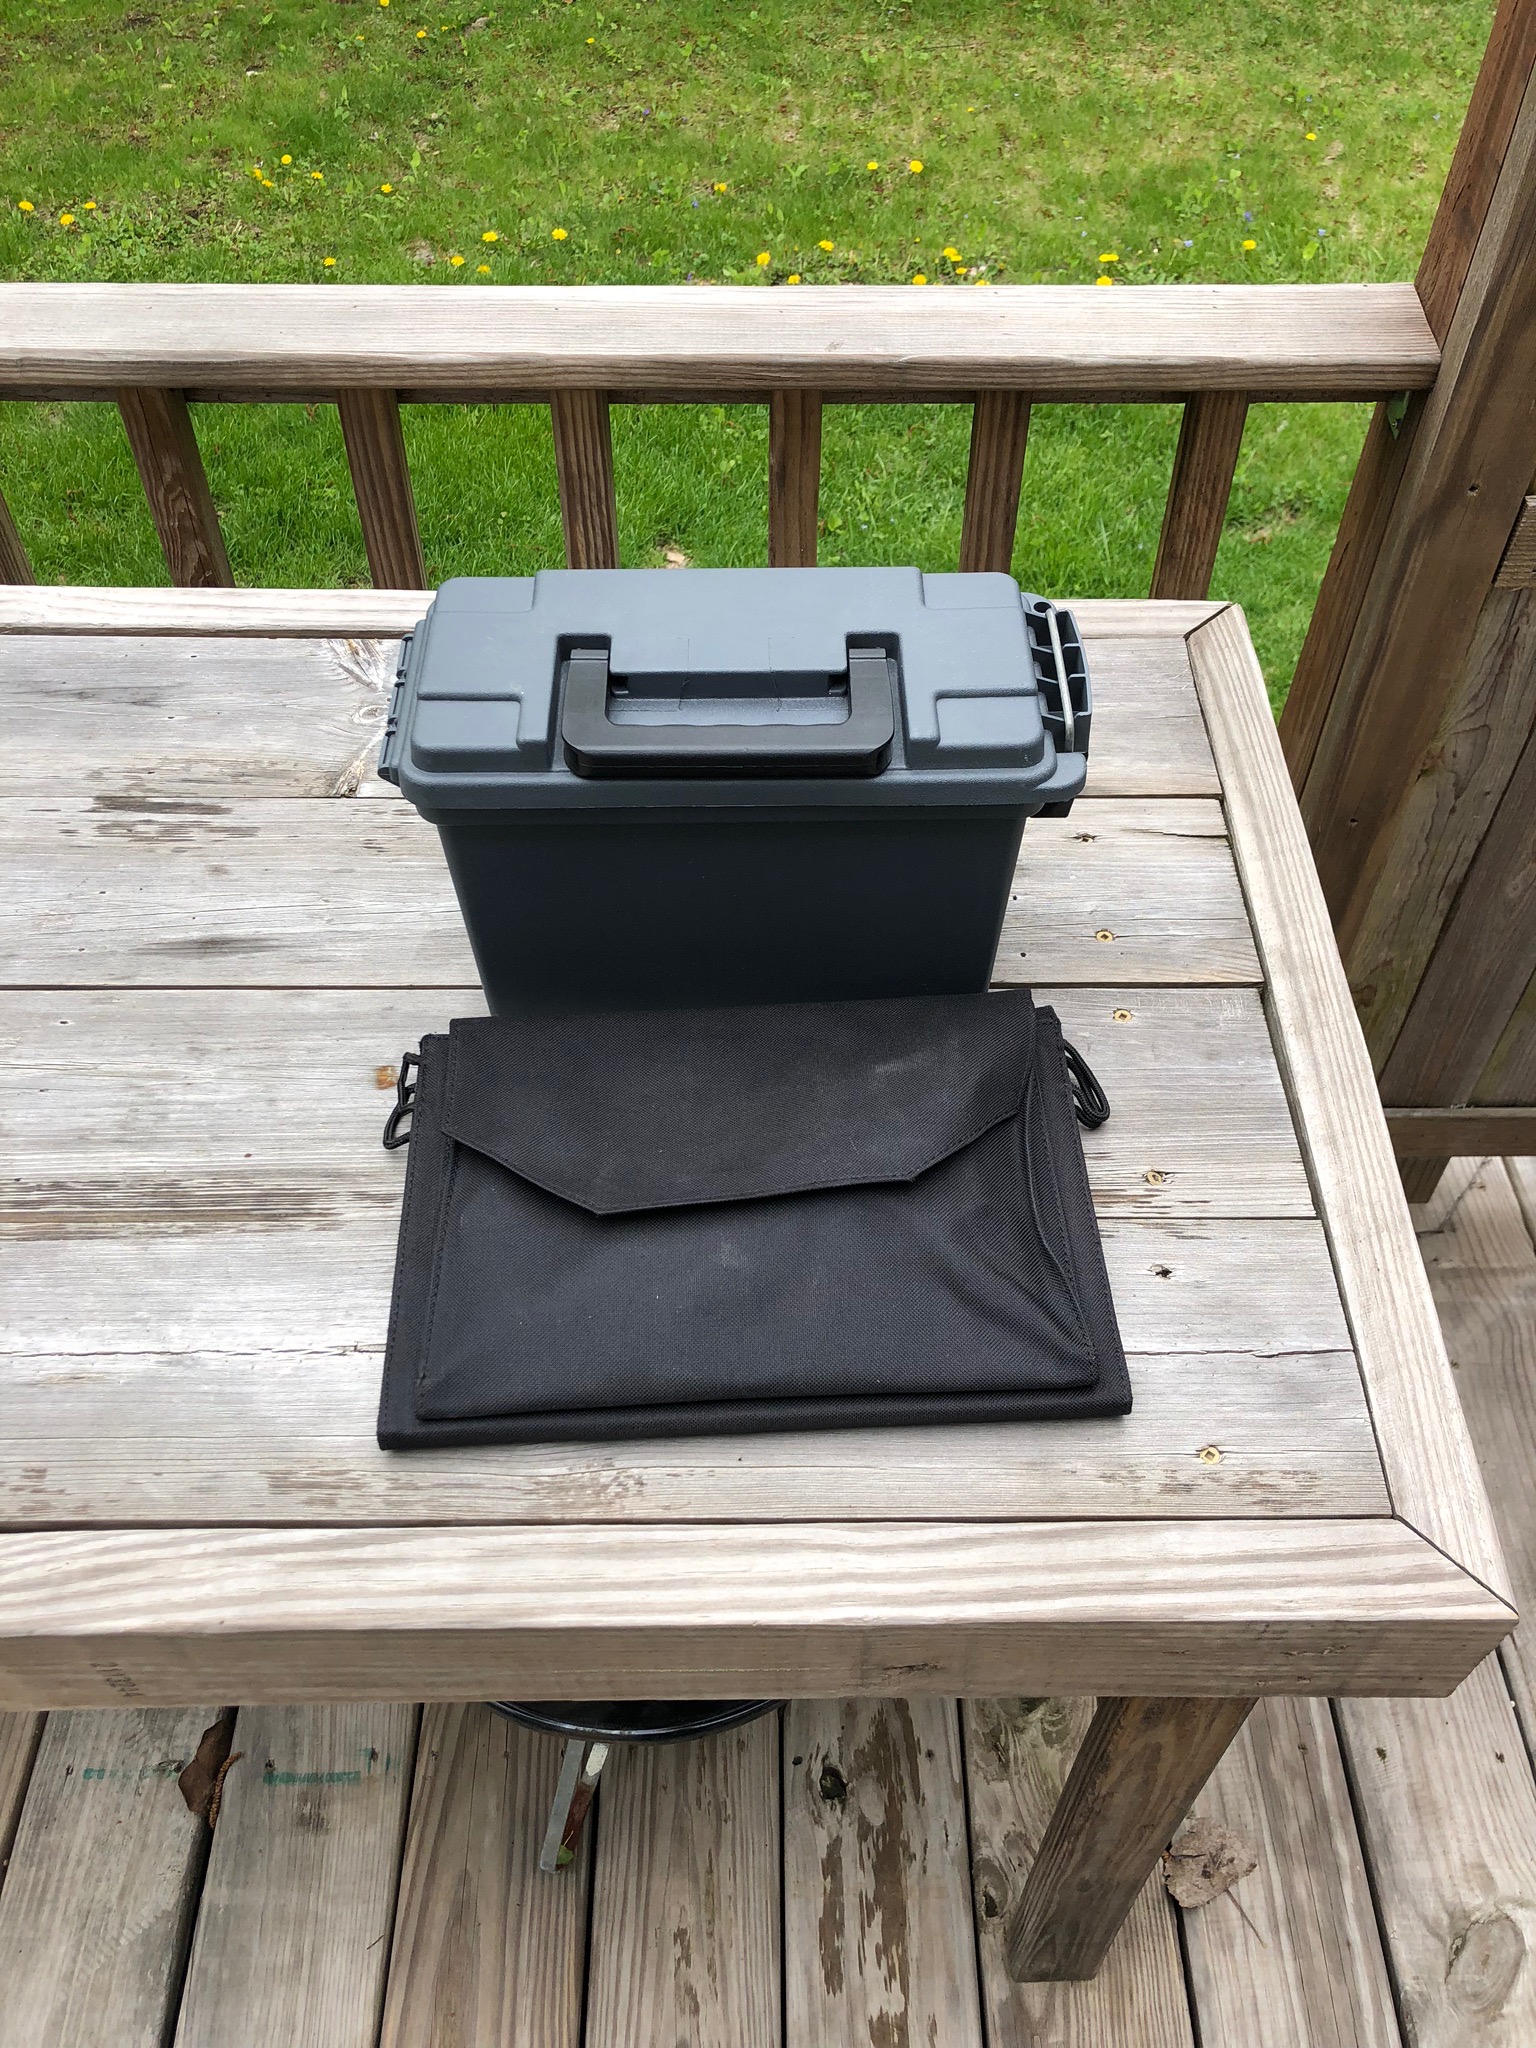
TOP PHOTO: Everything closed up and ready for transport. The 27 watt solar panel (reused from the old box) folds flat. BOTTOM PHOTO: The completed project is the same size and weight as the old power box but has more than double the battery capacity.
The end game.
I have great long term expectations for portable DC power pack 2.0. I haven’t yet tried it in the “real world” but the bench tests are promising. The only real operational difference is that the charge time has increased since I now have a bigger battery but the solar panel is still the same. My upgrade took about half an hour, and that included cutting and fitting the plywood insert. It will easily power my FT-817 overnight and still have some reserve. This is as good as it gets for an under 5 pound (2.268 kg) package. For an investment of less than $200.00 I vastly increased my portable off grid power capabilities without any additional space or weight
Thanks for your write-up about designing/building Power Pack 2.0! I especially appreciate you explaining the reasons behind the choices you made. Very useful info.
Hi Rick, thanks for your kind words. This is a very simple project so if it were just a how-to then it would be a very short article.
Even simple projects should be well thought out and have a clear purpose. By explaining why I did it the way I did, I’ll hopefully help others find solutions that really work for them.
Excellent article with great photos, Chris. I thoroughly enjoyed it. You’ve got yourself quite the portable power pack! I plan to get my rig out on the cliffs above Lake Superior for a few days of camping/hiking very soon.
Thanks for the article on your upgrade. It worked so well I might “have to” update my portable power pack!
I too found it odd that the documentation for their controller repeatedly says to tap straight off the battery. I e-mailed them back in 2018 about this and here was what they said:
“We mention to tap off the battery directly in order to capture more than 20 Amps of discharge current, if you are using the unit with ham radios that operate more than 100 Watts PEP. So that’s why we mention to do that.
If you use the load output, the current would have to be less than 20 Amps. In this case, you can capture more than 20 Amps. Our LiFePo4 batteries have built in circuitry that protects against overcharging, overdischarge, overcurrent, and overvoltage.”
Based on their response, you don’t have to avoid the load terminal of the controller as long as you accept its 20 amp limitation… which should be easy using portable, low power equipment. Thanks for another great article!
Hi David, thanks for clearing up the issue about the battery output on the controller. This was an expensive upgrade, but in the month or so since it’s working out very well.